Sally Hansen Nail Polish Haul [Indonesia]

So I went to Indonesia for 2 months. That explained my “disappearance” in December and January. But don’t worry, I’m back.

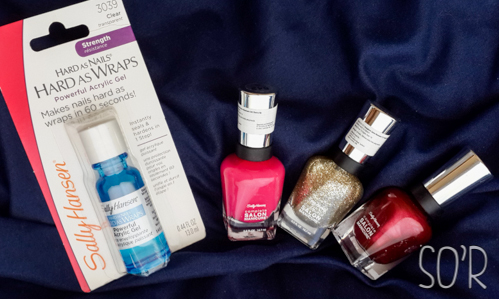
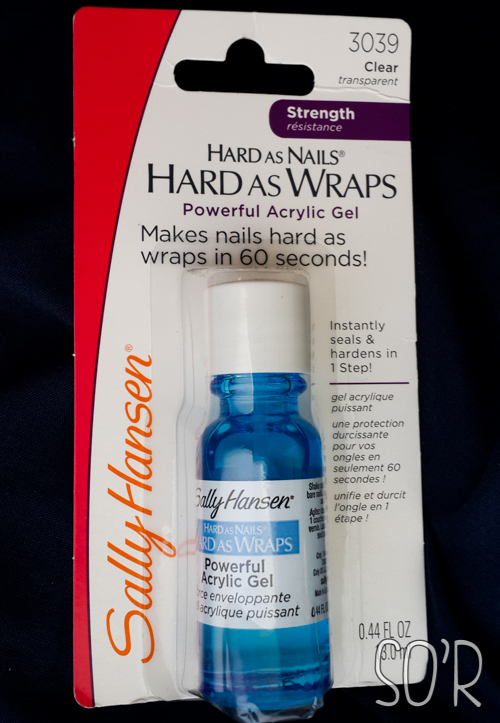
In Indonesia, I bought some nail polishes. A set of 3 Sally Hansen nail polish and also their acrylic base coat, which I have been wanting to try for a while. I knew that some Guardian stores (a drugstore in Indonesia) sells Sally Hansen products but I only just found out that Sogo (a major department store) actually sells them. The price is significantly lower than Australia so I had to get a few.

Nail Polishes

Nail Polishes

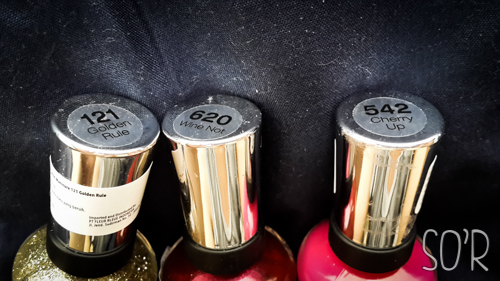
The three Complete Salon Manicure polishes came in a box set for Rp. 290 000,- or about AUD $29.

I wore Wine Not and Golden Rule for Chinese New Year:

Sally Hansen

Chinese New Year Nails – Wine Not & Golden Rule

And I wore Cherry Up for Valentine’s Day:

Sally Hansen

Valentine’s Day Nails – Cherry Up

I absolutely love the consistency and brush of this Sally Hansen line for doing an all-over colour since the brush is flat and wide. So if you’re not into flat, wide nail polish brushes, you might not be into this.

The line also claims that it is a base coat as well as a top coat. Though I always use a base coat and top coat still even when using the complete salon manicure.

I used this base coat underneath my valentine’s day nails and I’m not sure if it was the base coat or some outside-forces (i.e. I may have been working more with water, etc lately) but the staying power is not as great as my usual manicures. I will have to try it again and make up my mind later…

Have you gone nail polish shopping lately?

Lots of Smiles,

Sita

DIY: My Neighbour Totoro Shoes

Hello hello so this was my Sunday Arvo / Rainy Day project yesterday – TOTORO SHOES!

I’d seen a few pictures on Pinterest on grey shoes decorated with the Totoro theme. Being an anime & totoro fan myself, I decided to give it a go on these AUD$3.50 K-Mart shoes. Really you can’t go wrong with a $3.50 pair of shoes. Worst case, it looks ugly and you throw away $3.50 with some experience on DIY-ing a shoe.

Here’s how I did it:

Face Inspiration

Face Inspiration From Pinterest

Materials:

  1. A pair of grey shoes,
  2. White paint (I used acrylic paint since that’s what I have at home)
  3. Black Sharpie
  4. Black ballpoint
  5. Toothpick
  6. Paper
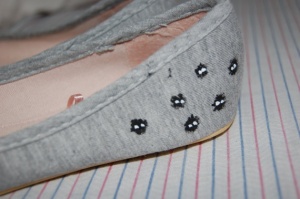
Spirits Inspiration

Spirits Inspiration From Pinterest

Method:

TOTORO:

  1. Prepare the picture of Totoro you want to add to the shoe i.e. I used this image. You can either print or do what I did: trace this straight from my screen on to paper. It turned out to be the perfect size for where I want to put the drawing.
  2. Cut out the totoro outline
  3. Trace the outline onto your shoe. You can be as detailed or as simplistic as you want.
  4. Mark dots on the shoe of where the eye, nose, mouth are supposed to be. I did this by placing the template on to the shoe and then folding where I have to mark. I marked the top of the eyes, a dash for the nose, and a dot at the top, bottom, left and right of the mouth.
  5. Finish the outlines with ballpoint – this means draw 2 circles for the eyes and connect the dots on the mouth and I added the teeth lines here
  6. Paint the whites and wait to dry (time of drying depends on paint type) – eyes & mouth
  7. Outline everything with sharpie!

SPIRITS:

  1. Draw hairy black blobs – I drew them like how I would draw daisies since the sharpie bleeds a little.
  2. Draw eyes on the blobs using a toothpick (or you can use anything with a point) dipped in a little bit of your white paint.
  3. Wait for it to dry and you’re done!

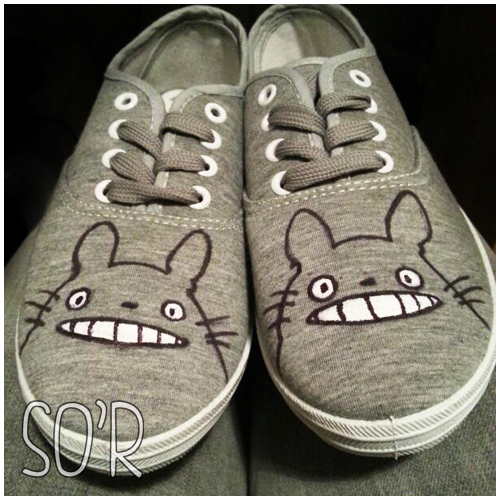
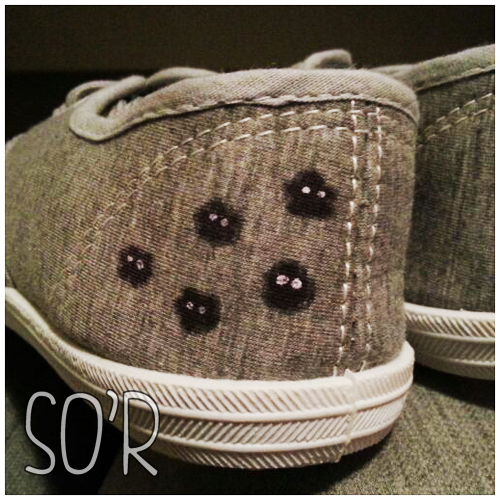
Here’s the results:

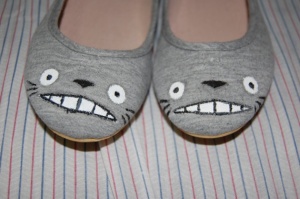
Front of the shoes (Totoro Face!)

Front of the shoes (Totoro Face!)

Back of the shoes (Spirits!)

Back of the shoes (Spirits!)

This probably took me half an hour to do not including the wait time. Outlining the drawing takes literally 1 minute.

This was a very easy, quick & cheap DIY. You can also use this method not only to do Totoro shoes but for any design!

What do you guys think?

Lots of Smiles,

Sita