Times Square Claremont Blogger Gathering

Yesterday, I went to my first ever blogger gathering.

What is a blogger gathering? I asked myself that same question when I was trying to decide what to wear. It’s a fairly informal event where bloggers just come together, sit around, get to know each other and have a massive social media frenzy. I attended one that Times Square Claremont (TSC) organised. Here’s what happened during the day:

The only gathering where being on your phone is not rude but rather, highly encouraged.

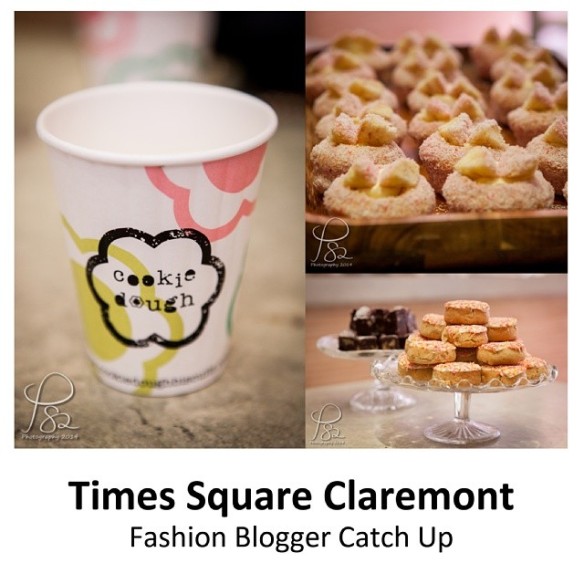
cookie dough nibbles blogger gathering catchup

Thank You Cookie Dough Biscuits for our yummy nibbles!

We met up at Cookie Dough Biscuits where we talked and got to know one another as well as nibbled on yummy nibbles.

Claremont Times Square Blogger Gathering-6

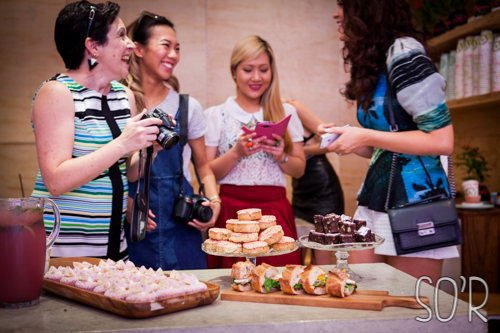
Of course, bloggers being bloggers, we all had to take pictures of EVERYTHING. Food being a high priority for most of us.

Claremont Times Square Blogger Gathering-8

Here’s a few girls I met – Vanessa from Nezuki, Dar from Call Me Dazzle, Meg from Darling, We’re the Young Ones and Joy from The Perthian. I also got to meet fellow Indonesian blogger Angeline from Love Thread! You might have seen her last year at the Perth Fashion Festival for Restyle!

Claremont Times Square Blogger Gathering-13

Here’s a red sign that everybody loves. Am I right?

Claremont Times Square Blogger Gathering-9

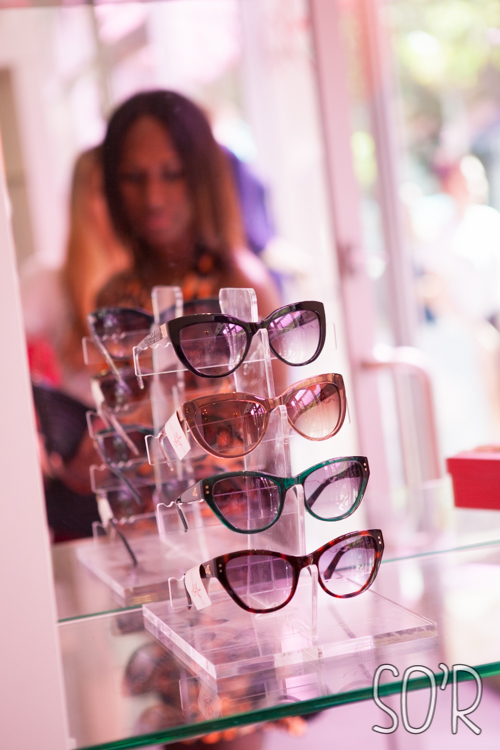
We then went to the stores around Times Square Claremont and took photos. We went to shops such as Lost Souls, BreathlessJomay Cao, Sana Boutique, Poppy Lissiman Addition, Betty Tran, Tarvydas, and even L’Amour Kids.

Claremont Times Square Blogger Gathering-11

Claremont Times Square Blogger Gathering-36

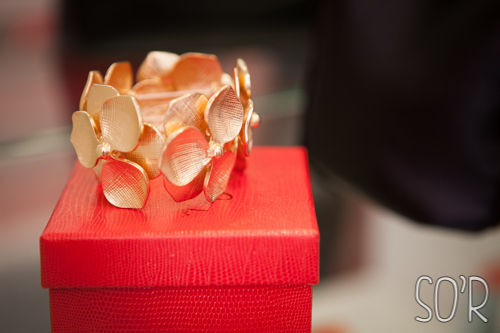
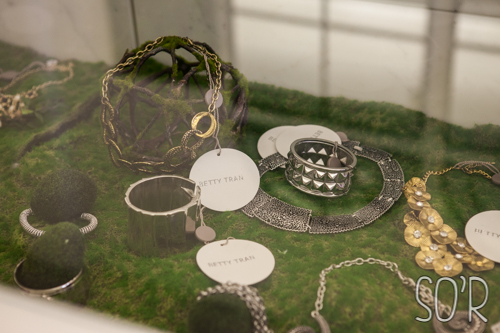
Some amazing Jewellery at Betty Tran (and I love the display!)

Claremont Times Square Blogger Gathering Jomay Chao

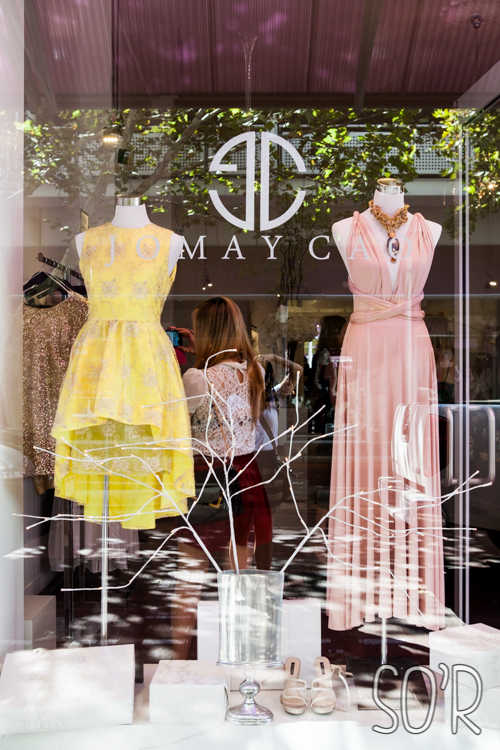
Jomay Chao’s Shop Display

Claremont Times Square Blogger Gathering Jomay Chao

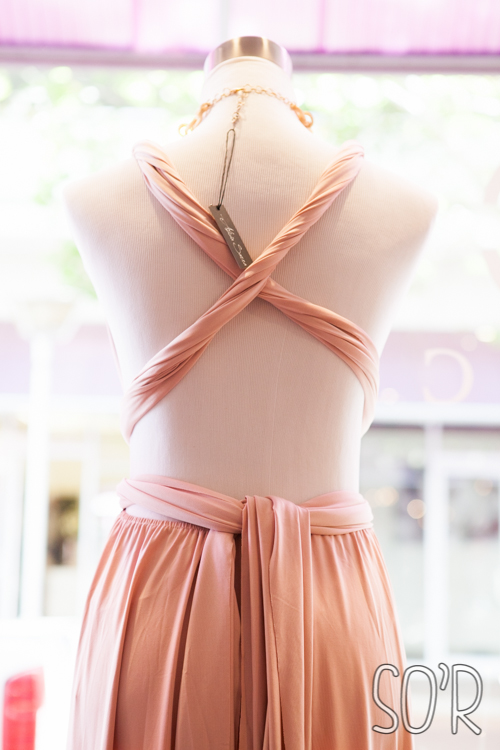
The back of the infinity dress on Jomay Cao’s display window

Claremont Times Square Blogger Gathering Jomay Cao

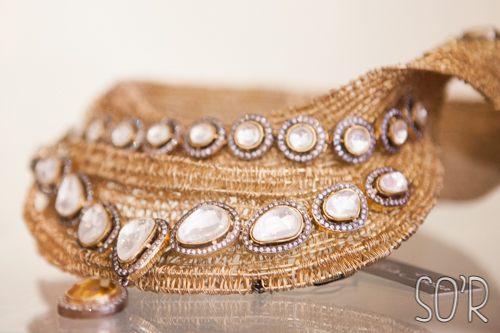
Some amazing Jewellery by Alicia Sarra at Jomay Cao

Claremont Times Square Blogger Gathering-45

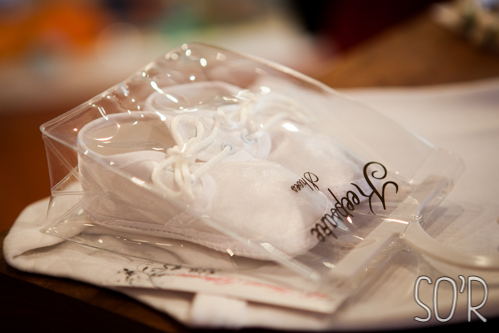
Tiny Shoes at L’amour Kids

Who can resist looking at cute little tiny things? everything is so pretty and cute and tiny and I just wish that I could still wear them sometimes.

Claremont Times Square Blogger Gathering-28

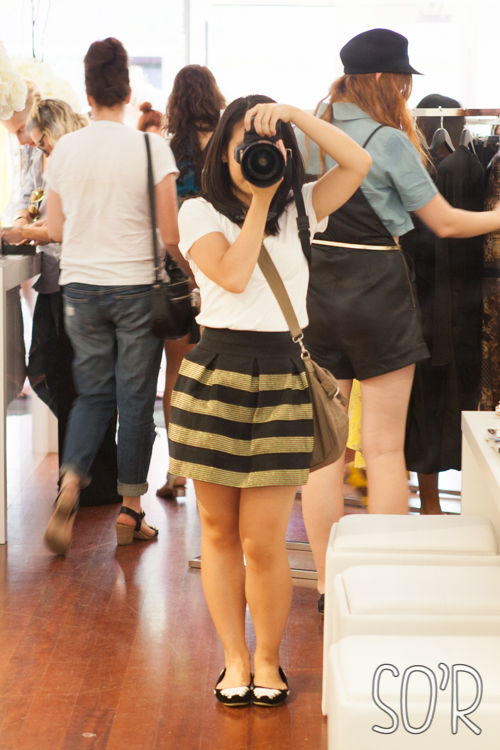
Lastly, another first for me – my outfit of the day. Basic plain white tee, elastic skirt (Indonesia), lace-up-detailed flat shoes (Indonesia), brown messenger bag (Indonesia) and of course, my Camera!

More photos from the event on Instagram (#tscbloggercatchup)

I met with so many wonderful people – fellow bloggers, fellow Indonesian, fellow photographers. Thank you to Nikola from Times Square Claremont and Cookie Dough Biscuit for the event yesterday and Cindy from Rose Gold Whimsy for the invite!

Lots of Smiles,

Sita

A Photo Lover’s “Headboard”

Lets start this blog post with a confession: I haven’t been a huge fan of headboards – I don’t see the purpose of having one and it takes up space in my small bedroom. So, I’ve never gotten one of my own.

I have this wall space above the head of my bed (where a headboard would sit if I had one) where I used to put up photographs, papers with things I’m supposed to memorise, things I made at school (mostly from math class – I was more mathsy than artsy) and just things I found along the years. So I guess you could say it was my “thinking board”.

I took everything off of my wall down when I moved to Melbourne for university. I came back earlier this year and thought of doing something with that bare wall. So, this is what I decided to do:

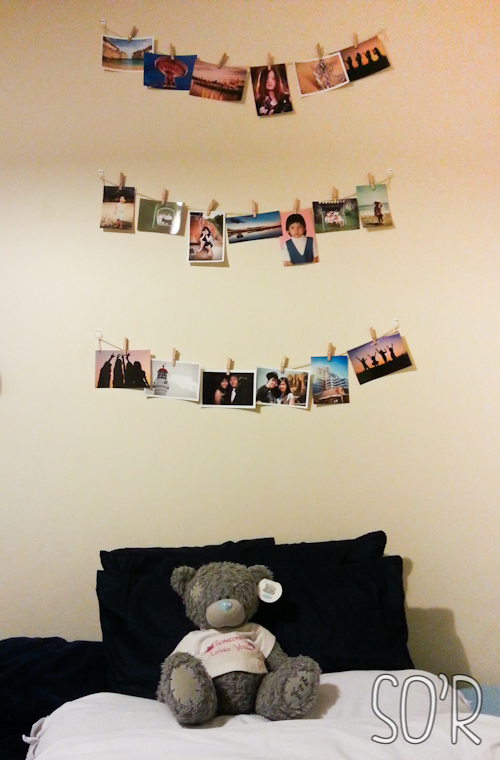
My Photo Wall

My Photo Wall

Since I’ve been doing a lot of photography in the past few years or so, I put together a few photographs that I am proud of or that held special memories and thought of just sticking them on the wall like what I did in my college room. But then I thought, you know what, I’m going to try something different.

I’d seen people do this all over the internet so this is hardly my own idea. I promise you it’s super simple, but this is how I did it:

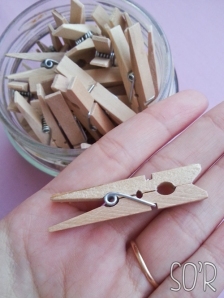
Mini Pegs

Mini Pegs


MATERIALS:

  1. Photographs of roughly the same size (doesn’t have to be the same size but I wanted mine to look somewhat uniform)
  2. Tiny Pegs (I got the mini pegs from Riot on a 50% discount)
  3. Twine
  4. Small Wall Safe Hooks (I used ones intended for fairylights from officeworks)


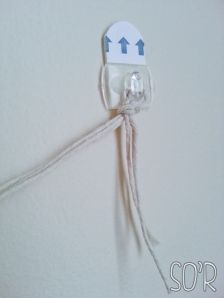
Slip knot on the hook

Slip knot on the hook

METHOD:

  1. Measure the width of the space on the wall and decide how wide you want each line of photographs to be
  2. Measure the height that you’ve got to work with and decide on approximately how tall you want your photo wall to be as well as the intervals (the spaces in between the lines)
    Hint: make it a nice number for you to divide! For example, I wanted 3 lines and I had just over 1m to work with so I decided with 30cm intervals which gives me about a 1m tall photo wall
  3. Put the hooks on each end (or wherever needed) according to the packaging (mine said to clean the wall with alcohol, apply the hook and leave it for about 12 hours before use)
  4. Cut the twine
    I cut three 1m pieces for each line – so nine 1m pieces in total
  5. Knot each ends – I used a slip knot (self tightening knot)
    How to knot: http://paracordcentral.org/wp-content/uploads/2013/04/self-tightening-knot.jpg
  6. Decide on the arrangement of the photographs
  7. When your hooks are ready, put the string up, then use the pegs to hold the photographs on the string.
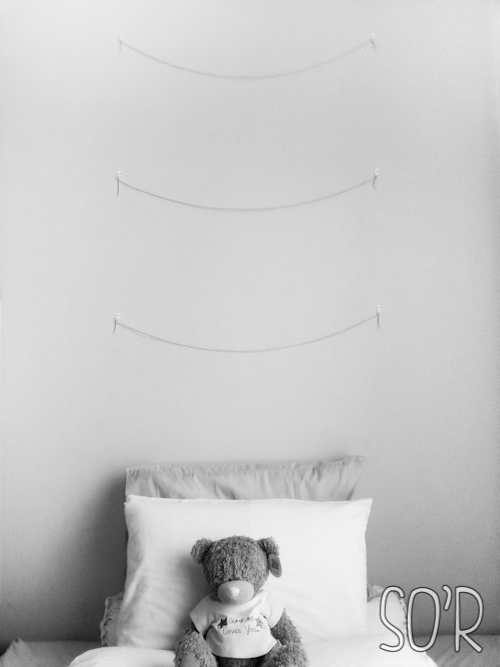
Plain Photo Wall

Plain Photo Wall

You’re Done! Easy right? Show me if you did this or something similar to your wall! 🙂

Oh and if you want to see something pretty, check out my photography blog Precious.S2 Photography in about 11.5 hours!


Lots of smiles,

Sita Carolina

6 Garlic & Mr. ROnion update + Galaxy Pot!

Hello everyone!

I am back here today with an update on the 6 garlics and Mr. Ronion that I planted about a month ago (view first post here). They’ve all grown really well!

6 Garlics

6 Garlics

I just water them every couple/few days now and I also put in a sprinkle of Epsom Salt. Just cause, I feel like it. Now I am not a plant expert in ANY way. In fact these are probably my first real pots. If anyone have any tips related to any of this please do let me know!

Mr. Ronion

Mr. Ronion

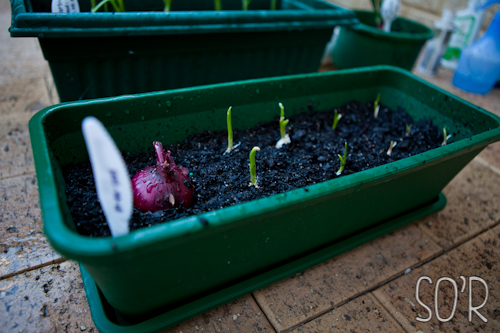
Just about a week ago, my mum decided she wanted me to plant more stuff. I planted more garlics (2 different kinds) and another red onion. We decided to put it all in one pot this time though and I got my little sister to name the whole pot. She named it Galaxy Pot.

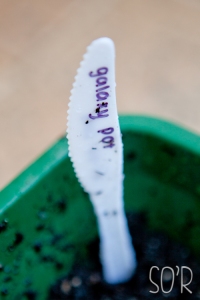
Galaxy Pot's plastic knife sign

Galaxy Pot’s plastic knife sign

Internet, meet Galaxy Pot:

Galaxy Pot

Galaxy Pot

Grow plants grow~! That’s all I’m hoping. Maybe we’ll be able to eat these at the end of the year!

Anyway, wishing you a very good week and I’ll post again soon!


Lots of smiles,

Sita

Haul: Nail polishes + Swatches

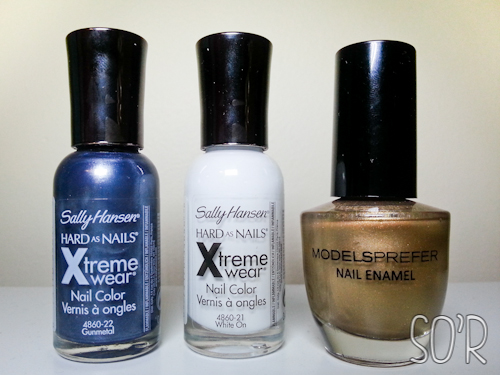
Nail Polish Haul

Nail Polish Haul

So, I went a on a little white nail-polish hunt yesterday. I’ve actually been looking for a good white nail polish for a while and as you might know from my last post that included a white Sally Hansen, I was pretty disappointed due to its streaky-ness. I typically think that nail polish is a low-involvement product that is relatively cheap (the ones I buy anyway) so I never really research on what brand has the best stuff. However, I decided a few days ago that I would do my research before I went in stores. I found that most of the recommendations were to get OPI’s Alpine Snow and some suggest other brands like China Glaze, Sinful Colours as well as other brands that are not even easily accessible in Australia. Actually, from all the brands above, the only really accessible brand is OPI. But I refuse to pay more than $10 for a colour nail polish so OPI was definitely out of the question (unless there’s a crazy discount on them) as it retails for AU$19.95 here in Australia. The only accessible drugstore brand here in Australia that I saw people had suggested was Sally Hansen’s Xtreme Wear.

Sally Hansen Xtreme Wear in Gunmetal & White On, Models Prefer Make A Million.
Photograph taken under white LED light.

I don’t typically buy Sally Hansen’s colour nail polishes as the cheapest retails for between AU$6-7. However, Priceline had a promotion of buy 1 get 1 free! So I took a leap of faith and bought the white nail polish and got myself a gunmetal colour as my 2nd item. So that’s 2 nail polishes for $6.95 (or about $3.50 each).

I previously owned a Sally Hansen Xtreme Nail Polish in Flirt (#38) which I used to use quite often (it’s not with me at the moment hence I can’t wear it right now) so the consistency didn’t really surprise me. It’s a little thicker than my Revlon polishes and the Models Prefer nail polish but I think it works quite well.

Sally Hansen “White On” is exactly what it is. A white creme polish. I don’t know what else to say about this other than it is white, shiny and I love it. I think the shine takes the “I-have-white-out-on-my-finger-nails” look away and I am actually considering painting all of my 10 fingers in white.
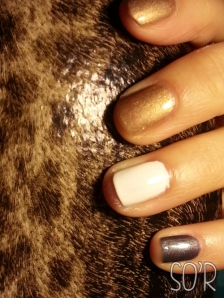
I applied a base coat, 2 layers of colour and Sally Hansen's Mega Shine top coat. Photograph taken under yellow light indoor

Base coat, 2 layers of colour and Sally Hansen’s Mega Shine top coat.
Photograph taken under yellow light.

Gunmetal” I picked up because it is almost winter here in Australia and I love me some good dark coloured nail polishes. It seems like winter is the more-appropriate season to wear dark polishes (but hey, I wear whatever colour I feel like whenever I feel like it). It’s got a slightly purple undertone and a slight shimer. The name fits the colour – it looks like a gunmetal colour.

As I was walking around Priceline after I’d picked out the two nail polishes, I saw that Models Prefer had a promotion going on too. It was a free blender sponge every time you purchase at least 1 product. I’ve never tried a beauty blender and I am a sucker for nail polish and VOILA! I got sucked into buying this really pretty light bronze/gold colour even though it costs $5.99 ($1 over my limit). However ended up being my favourite nail colour I’ve ever had so far. And the bonus blender sponge is probably worth more than $1.

To me this colour screams out luxury and expensiveness. It’s subtle enough to wear everyday but I’d imagine it would look fabulous with a champagne-coloured, shimery but elegant dress or to dress up a little black dress.
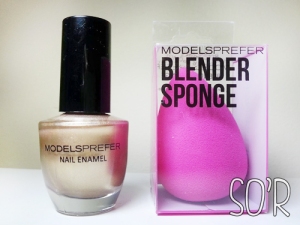
Models Prefer Make a Million + Bonus Blender Sponge

Models Prefer Make a Million + Blender Sponge

The formula is wonderful! It’s got a thin but opaque consistency and it’s got a really really big brush which I actually kind of like. It applied really well and it has a smooth finish.

I also bought a few other things which I might mention in another post but this was all the nail polishes! All in all I was really happy with my purchases and I can’t wait to wear these polishes again and again!

Let me know what you think of the colours and if you have any of them, do let me know what you think of them!

Lots of smiles,

Sita

Rubbing Alcohol

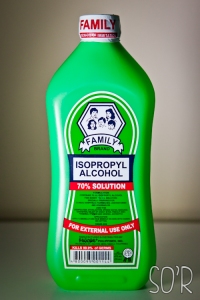
Family Brand Rubbing Alcohol

Family Brand Rubbing Alcohol

Hello again smiley faces!

I hope you are all well.

Today I would like to talk about Rubbing Alcohol. I have recently learnt that this not-so-expensive product is actually very versatile and useful.

Before that though, I want to say that there are cheaper rubbing alcohols around rather than the Isocol brand (the one with the dinosaur on it) they sell at most pharmacies and grocery stores. Though that one is probably the most convenient one to get. However, I don’t know about you but I refuse to pay AUD$10 for one bottle of this stuff.

I actually wanted to get some rubbing alcohol since a while ago but I thought that I still had some at home. Being quite unfamiliar with the stuff, I had no idea that they have an expiry date nor did I know much use of them other than cleaning cuts (which I never do) and to clean walls before you stick things (like hooks) on it. So, long story short, my supply at home was “expired” and I had to throw it out (I searched online whether they can still be used for general cleaning around the house but they all said that the chemicals have somehow changed or something – sorry not a chemist). But again, I didn’t want to spend another $10 to get the bottle which most of its contents will probably end up in the bin again like the last one.

Luckily enough, I held out buying it long enough to come across this particular brand at the asian grocery store at Canning Valle (Perth) which costed me around $5 a bottle. The bottle looks pretty similar if you ask me. Green, same size. Just different brand/sticker and a different lid (click here to see what the Isocol rubbing alcohol looks like).

So what “other uses” did I manage to find for rubbing alcohol?

Personally, I used it to fix my broken blush like one of the many tutorials around on YouTube. The easiest (and laziest, but in a good way) is probably Kandee Johnson’s tutorial. But you can search many others on the internet or if you prefer, a video version on YouTube.

But I also found all these other ways to use it which I have yet to try (but I’d imagine it’d be useful). Here are some of them:

  • Clean your phone (wipe down)
  • Erase permanent markers
  • Clean white boards
  • Make shape-able ice-packs
  • Clean bathroom fixtures (chromes)
  • Clean hairspray off mirrors (although I don’t even own a hairspray right now)

So I hope this post will benefit at least ONE person out there and I’ll post another post soon!

Lots of smiles,

Sita
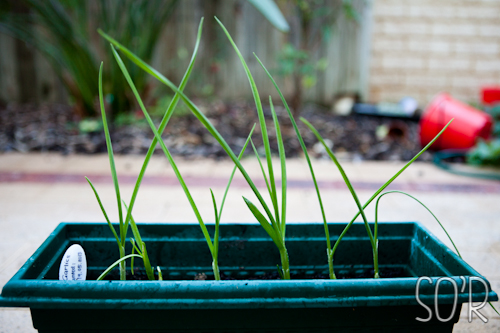
Meet 6 Garlic & Mr. ROnion

Hello hello! I hope you are having an awesome weekend so far. I’m just here to quickly introduce you to my 6 garlic and Mr. ROnion!

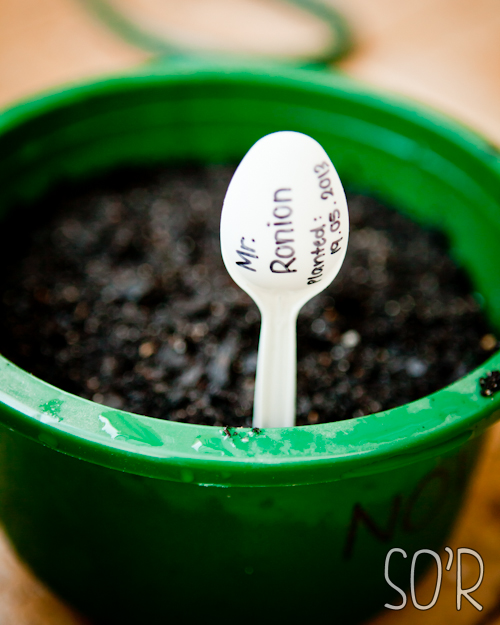
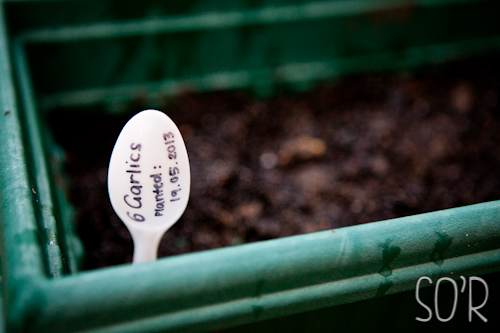
6 Garlic is a pot of 6 garlic (obviously) and Mr. ROnion is a red onion in a separate pot. I saw so many posts about planting garlic on Pinterest and so I wanted to give it a try.

I’m not much of a green thumb but I thought I’d give planting garlic and onions a go. I’m in to try lots of things at the moment! #YOLO. I’ve just been following a few instructions from the internet. I put them on my patio (with a roof) and water them about twice a week since it is autumn here in the lower half of Australia. I also sprinkled a little tiny bit of Epsom salt on top of it the other day as fertiliser. If anyone has any tips, do let me know!

IMG_2191 IMG_2192

Yes, I am so creative I write details on some extra plastic spoons we had laying around the house from takeaways and such. *sarcasm*

Anyway I will probably write update blogs on these two pots every now and then!

I hope you have a wonderful rest of the weekend!


Lots of Smiles,

Sita Carolina


Glad I have you: Leather Puncher

Hello lovely smiles,

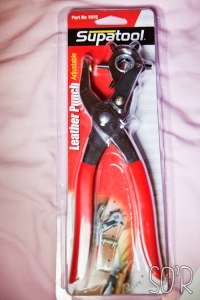
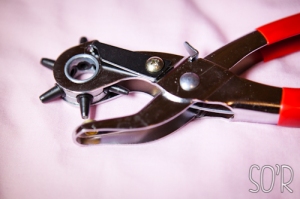
Leather puncher in its packaging

Leather puncher in its packaging

About a month ago, as some of you might remember, I bought an AUD$1 belt at a sale about a month ago and they were way too big for me. I talked about getting a leather puncher so I can customise the belt to my size. Well, I’m telling you today I’m glad I decided to buy this little gadget! Now, I can surf the sales all I want and since my size is normally the one that is gone first (XS/S) and therefore found it hard to buy belts on crazy sales in the past. Now, I can buy larger belt sizes and will still be able to wear them!

If you are petite in build like me, then I definitely recommend this investment. I suggest buying the revolving one with multiple sized “punchers” (for lack of a better word – I don’t know what you’d call them) since different belts will require different sizes. Especially those fastened with a push button.

I researched DIY alternatives and they are very tedious, uncertain and the results are not satisfying at all! (messy, rough, etc) Trust me, $10 will be paid back in a flash! (e.g. I recently bought a supposedly $14 belt for $1 which was too big and I had to punch a few extra holes with my leather puncher at home. Now, I think by having the leather puncher, I saved $13 — BAM! Leather puncher paid back.)

Revolving leather puncher - multi-sized puncher

Revolving leather puncher – multi-sized puncher

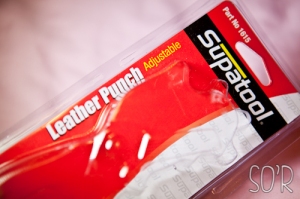
A great tip if you are in AustraliaDO NOT buy this from Spotlight. I tried finding something like this there and it costs AUD$25+. I luckily went to Bunnings (a home-improvement/hardware store) shortly after and found this one that I bought for a little less than AUD$10.

Leather puncher packaging

Leather puncher packaging

I also searched online and found nothing worthy of buying less than $8. And that didn’t include shipping either. The wait times for delivery and such were around 1 month. Totally would have costed me more than $10.

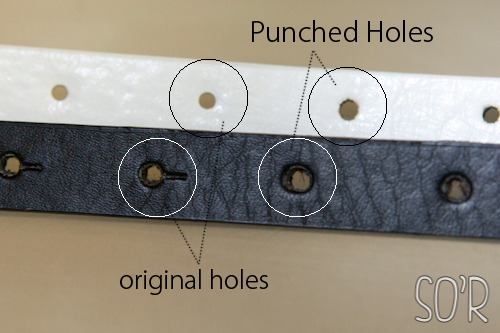
hole comparisons

Holes originally on the belt vs holes I made using the Leather Puncher

UPDATED: here is the hole comparisons – original holes vs punched holes. In my opinion the holes are really neat and you wouldn’t be able to tell the difference unless you stare at them really well. With my black belt, I had to make the hole bigger since I didn’t want to even attempt to make the slits.

If you would like to use this, then make sure you start from a hole that is a little smaller in size than what you think it might be. If you made a mistake in judging, you can always go bigger, but not smaller.

So that is all smileys, I hope you found this useful!

Lots of Smiles,

Sita

Carousel Haul [27.03]

Capture

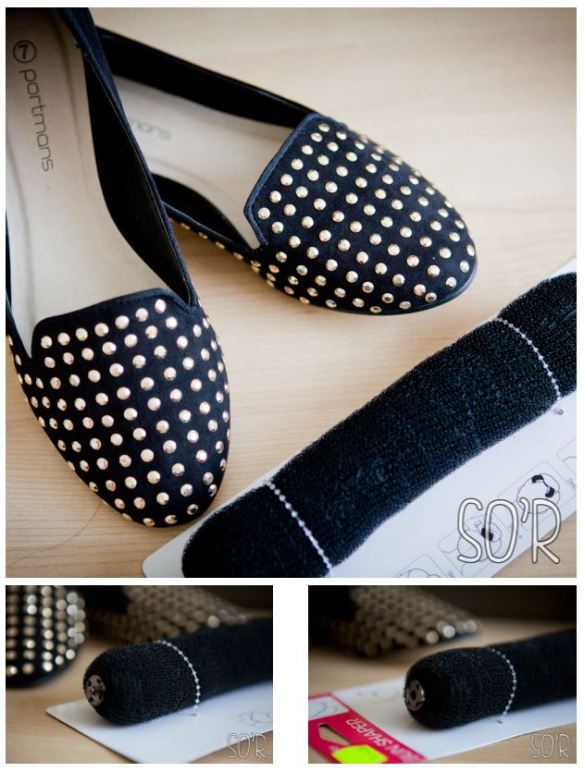
Carousel is a Westfield shopping centre here in Perth, Australia. I went there last week with my parents and saw that Portmans were on sale. I got those loafer shoes for $19.99 a pair! I love these shoes but I find that the width is a little too small for me. I do have extremely wide feet and it is difficult to find shoes. They’re not totally uncomfortable either so I hope once I break into the shoes a little bit more they will be as comfy as a pair of house slippers. I would love to do the MichellePhan shoe trick but I lack the freezer space and I am freaked out about stinking/dirtying/poisoning the freezer contents. I would much rather a blister on my foot than food poisoning the whole house.

We then went to the $2 shop and thought that I should try this sausage bun shaper (haha, I don’t actually know what to call those). Even though it was a $2 shop, this thing costed $3 – don’t know why. I’ve never owned those hair doughnut things and I should probably have tried those first. I do have slippery, fine, layered hair and I clearly did not think this purchase through. When I got home, I put my hair up in a pony tail and tried to make the sock-bun look just like the millions of tutorials I’ve seen on YouTube. Guess what, I failed miserably  To be able to compare these with a sock bun, I found a pair of unused socks I brought home from the aeroplane years ago. I cut the stitching at the toes off of one sock and rolled it up into the doughnut shape. I tried making a sock-bun – it did not work either.

So I am still wondering how to actually make a sock bun on my slippery, fine, layered hair. Maybe I need to put in some products first. I am not too sure. When I figure out how to do this, I will surely post another blog post. Meanwhile, if anyone out there know how to fix this problem of mine, do let me know!

Thanks for reading this blog and don’t forget to follow my blog so you won’t miss my posts!

Lots of Smiles,

Sita Carolina

$1 Candle!

I know, I can’t believe what I saw either.

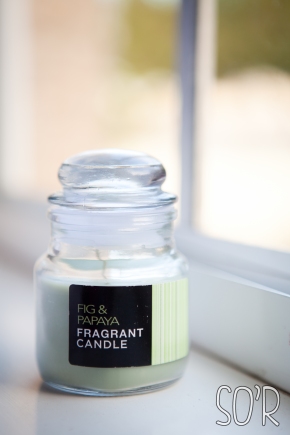
$1 Candle

$1 Candle

I’m not normally a candle-burner and I am sensitive and particular to smells. (I am one of those people who can smell cucumber, celery, rain, coriander, etc) I absolutely do not enjoy sweet milky smells unless it’s a real cupcake or cookie baking. I have tried a couple of the Glade candles (the Lavender and the colour-changing candle) a while ago and I love them but most of the time I hesitate buying candles just because I don’t think they’re worth the price.

I went to K-Mart (Australia) the other day and found these little candles for $1 each! I know, out of all places to find candles. But hey, Australia don’t have Bed Bath and Beyond and so the ever so popular Slatkin & Co. and Yankee candles are almost impossible to find (unless if I buy them online). I was of course sceptical as to how these candles smell, but at the same time I couldn’t resist smelling all the scents they had.

The candle that I picked up was the first candle I smelt and oh my, it smells fresh and fruity and delicious. Then I thought I should smell the other ones too – bad choice. They all smelt horrible to me and I hated them.

In the end what made me buy this candle was the price. For $1, even if it doesn’t make my room smell nice, at least I will have a candle for possible future photography projects.

The candle is burning on my desk right now and it has been for the past maybe 20 minutes and yeah I do smell it from here. So I guess the $1 was definitely worth it.

Anyway, do check these candles out. TIP: I heard that the correct way to smell candles at the store is to smell the lid. That way, all the scents are already “mushed” together and you’re not just smelling one element of the candle.

Let me know if you like these kinds of posts so I can do more!

Lots of smiles,

Sita
Tea Haul – March 2013

Happy Saturday dear Internet!

Today, I want to share with you my love of tea and my new journey on trying out different types and flavours of tea.

I grew up only drinking either a plain black tea with sugar or plain jasmine tea with sugar and occasionally some green tea. I love tea and I’ve always wanted to try a lot of different kinds of tea so a few days ago when I went to Coles (supermarket) with my parents, I saw that the Twinings teas were on sale for $1 a box! I thought this would be the perfect opportunity to start trying out different kinds of teas.

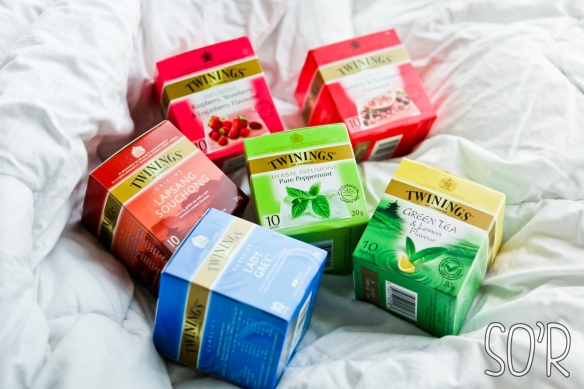
Tea Haul March 2013

Tea Haul March 2013

It was so tempting to get one in every single flavour. Though I swear there were about 20 flavours there. But after much consideration, I ended up with these 6 flavours:

  • Raspberry, Strawberry & Longanberry Flavoured
  • Cranberry & Pomegranate Flavoured
  • Lapsang Souchong
  • Pure Peppermint
  • Green Tea & Lemon Flavour
  • Lady Grey

I think that this is probably the best/cheapest way of trying out new tea flavours. I did go to Oriental Tea House before but the teas there go for around $10-$20/box (one flavour). I haven’t tried any of these teas before, nor am I affiliated with them.

Be sure to subscribe to my blog and wait for my review on the individual flavours!

Lots of smiles,

-Sita