Wow, it’s been a while since I last posted anything hasn’t it…
Earlier this week, I was randomly going into Woolworths near where I lived and BAM. I saw what could possibly be a pot of gold (to me anyways…). Nail polish clearance for TEN CENTS. I am a nail polish lover if you can’t already tell by my previous posts or if you’re a new reader to my blog.

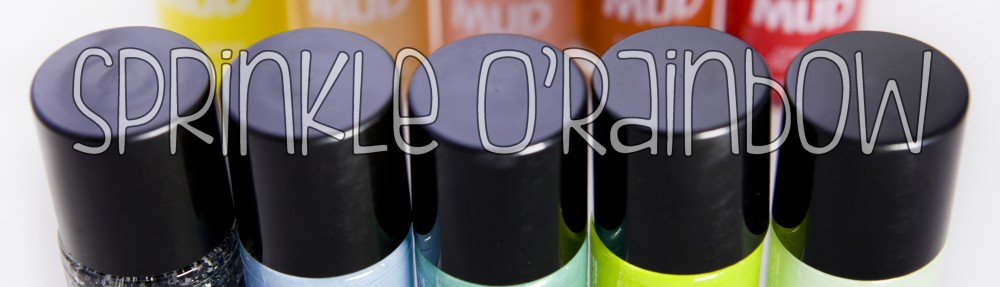
Ten 10c MUD Nail Polishes
When I saw these MUD Nail Polishes, I was a little sceptical of their quality since I haven’t heard of their brand before. But then I thought: “They’re 10c. If I buy ten of them, that makes $1. If they work awesomely then GREAT. If not, I’ll re-purpose them for some DIY or something. All else fails, I’ll just chuck it away. They’re only $1 total.” So I bought ten of them.

Some of the polishes on my finger nails a few hours after application.
I tried most of them on my ten fingers with two of the colours repeated and another two I didn’t use. I did my nails on Monday with the Sally Hansen Hard as Nails Hardener for the base coat, two coats of the colour, and Sally Hansen Mega Shine top coat (my favourite base and top coats ever!). It is now Friday and other than slight wear on the edges of my nails, I don’t see any chips which is amazing!

The same nails today.
So it was a pot of gold in the end.
Plus, don’t you think that photograph of the nail polishes summarise “Sprinkle O’Rainbow” really well? 😀
Lots of Smiles,
-Sita


